
A large nonstick skillet is a kitchen essential, but these workhorses can be finicky, and one wrong move can leave you with a crumbling pan. Unfortunately, when it comes to cooking, cleaning, and storing a nonstick skillet, there is plenty of room for user error.
Non-stick pans have very specific rules when it comes to cooking, cleaning and storage. To break down the proper way to use, clean and store nonstick cookware, we enlisted experts Wendy Dyer, Product Manager at All-Clad, and Nate Collier, Director of Marketing Communications for Le Creuset, who explained the do’s and don’ts. take care of non-stick surfaces.
Non-stick pans require special care to ensure their long life. There are cookware that are safe to use on a nonstick surface, and it’s important to know what they are. Similarly, when cleaning a non-stick cooking surface, certain cleaning products and utensils should be avoided. And finally, storing a non-stick pan properly is crucial to avoid damage. These cooking, cleaning and preserving products are the right ones to use with non-stick pans.
$69.95 on Amazon
The choice of cookware is essential when it comes to the safe use of a non-stick pan. “Creuset silicone tools are recommended,” Collier says, adding, “you can also use wooden or heat-resistant plastic tools.”
$25.89 on Amazon

Wooden kitchen utensils can also be used for deep cleaning; Dyer recommends boiling a 50/50 mixture of white vinegar and water, and using a wooden spoon or spatula to gently scrape stubborn residue from the surface of the pan.
$7.72 on Amazon
Dyer and Collier recommend washing nonstick cookware by hand rather than in the dishwasher, even though the pan is dishwasher safe. “To maximize the life of your nonstick,” says Dyer, “avoid using a dishwasher because of harsh detergents, high temperatures, and residue left afterward.”
$5.52 on Amazon
When washing nonstick cookware, be sure to use a sponge that is safe for the material and will not scratch or degrade the nonstick surface. Avoid using harsh scouring pads and never use steel wool on a non-stick surface.
$9.94 on Amazon
Dobie Pads are non-scratch scouring pads that are safe to use on non-stick surfaces.
$17.99 on Amazon
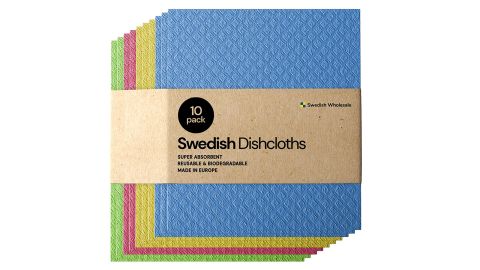
If you don’t like sponges, try our favorite Swedish dishcloth. This option is super absorbent and comes in a fun color pack so you can designate certain cloths for certain jobs. Read more in our review here.
$16.99 on Amazon
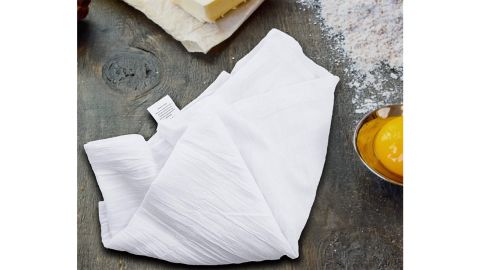
After washing a nonstick skillet, dry it thoroughly with a lint-free dish towel before storing. Flour bag dish towels can also be used to protect non-stick pans while in storage; simply place the towel in the pan before stacking another pan on top.
$7.25 on Amazon
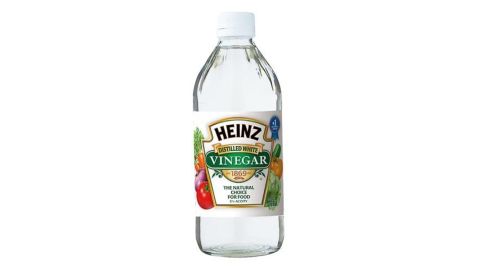
White vinegar can be used to deep clean a non-stick cooking surface.
$6.72 on Amazon
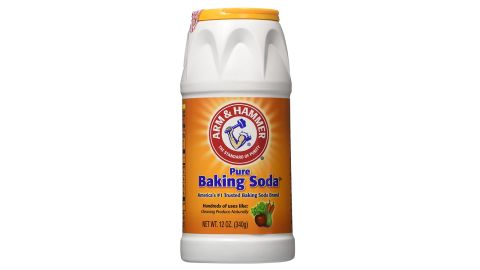
A paste of baking soda and water can help gently remove stubborn buildup from nonstick surfaces.
$34.99 on Amazon
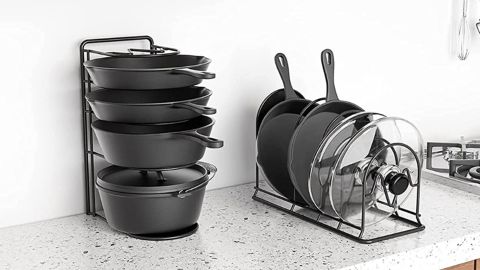
A pot rack organizer can help protect nonstick cooking surfaces during storage. Never stack pots and pans directly inside a non-stick pan to avoid damaging the surface.
$11.69 on Amazon
Felt and silicone pot and pan protectors are another way to ensure that a non-stick pan is not damaged when not in use.
“For general cleaning and maintenance,” says Collier, “cool the pan for a few minutes before cleaning. Do not immerse a hot pan in cold water. Although the pan is dishwasher safe, a wash by hand is recommended.Collier and Dyer recommend washing a nonstick skillet by following these steps:
Step 1: After cooking, clean up soon after the pan is cool to the touch.
2nd step: If there is heavy residue in the pan, soak it in warm water and dish detergent for a few minutes before sponging. Otherwise, simply wash the pan with a sponge and hot soapy water.
Step 3: Wipe the pan with a sponge or a towel.
Step 4: Rinse with lukewarm water.
Step 5: Dry with a soft towel.
To remove heavy residue, Dyer recommends two methods for deep cleaning a nonstick pan:
Method 1: Boil a 50/50 mixture of white vinegar and water in the pan while carefully using a wooden spoon to remove any stuck-on bits. From there, soak the pan in hot, soapy water to help release the food.
Method 2: Make a paste of baking soda and water and use a Dobie Pad to scour the nonstick surface. Dyer notes that this method should be used sparingly, “It should only be used on rare occasions for maintenance and not for daily cleaning.”
Collier and Dyer have offered the following tips for properly cooking, cleaning, and storing a nonstick skillet.
“Before first use,” Collier says, “you must remove all packaging and labels. Wash the pan in hot soapy water before rinsing and drying it thoroughly. Condition the interior nonstick cooking surface by rubbing a film of vegetable or corn oil over the entire cooking surface with a paper towel. Rinse the pan with hot water and dry it thoroughly. The pan is now ready to use.
- Use low or medium heat when cooking on a nonstick surface, as nonstick coatings are more delicate than raw metal surfaces. The pan should never be used on the highest heat setting for preheating or cooking. Excessive surface temperatures will damage the nonstick cooking surface.
- Add a small amount of oil or fat to the cooking surface before heating begins to improve flavor and browning of food.
- If the oil or fat becomes hot enough to smoke, cool the pan before proceeding. If oil or fat smokes, your pan is too hot.
- For fat-free cooking, preheat the pan over medium heat for about two minutes before adding the food.
- Never use cooking sprays; they leave a residue that permanently adheres to the non-stick coating, reducing its sticking strength.
- Always use wooden, silicone or nylon utensils when cooking on a non-stick surface; generally, it is best to avoid the use of metal utensils.
- Metal tools, spoons or balloon whisks can be used with care, but should not be used roughly or scraped on the nonstick surface.
- Do not knock utensils against the top edge of the pan.
- Knives or other sharp-edged utensils should never be used to cut food on the nonstick surface.
- Hand-held or battery-powered electric mixers should not be used on the nonstick surface.
- Do not use metallic or abrasive pads.
- Do not use abrasive cleaning products.
- Clean well between uses. Dyer notes that “pans may look clean, but actually contain oil residue that can build up over time and reduce the release of your nonstick.”
- If the pan is regularly washed in the dishwasher, Collier says, “darkening of the rivets and outer ring of the base may occur, or a powdery white deposit may form. This is normal and will not affect the performance of the pan. Dull surface or white deposits can be removed by cleaning the affected areas thoroughly with a soft nylon pad and detergent. After cleaning, rinse and dry thoroughly.
- When cleaning a nonstick skillet in the dishwasher, Collier recommends reconditioning the cooking surface with vegetable or corn oil before next use.
- Use a pot rack instead of stacking to prevent metal-to-metal scratches.
- If you must stack, use a towel or dish protector between each kitchen utensil.